Guide
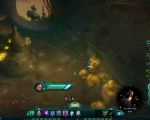
- On ground next to a bounty board that gives quest “WANTED: The Hillscourge Horror [Group 2+]”, Hillscourge Station area.


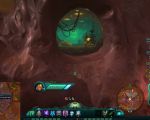
- As you enter cave tunnel at the marked location at map, don’t miss the tale that stands just before the first egg sack at your left, The Hillscourge area. This tunnel leads to Exo-Lab 79 – Data Central area, where you can find Martinus’s Journal and DATACUBE: Failsafe Mechanism.
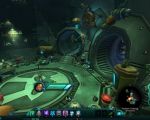
- On a large, circular platform, next to a Feralplain Collective Taxi Kiosk stand, Feralplain Collective area.


- Inside eastern room of a house that stands just beside nearby taxi stand, Feralplain Collective area. Inside this house you can find Mondo Zax (Dred) NPC quest giver and an ability trade kiosk.

- On grass, inside small tent, next to a wooden crate, close to a large tree, Wildwood Grove area.


- Lying on the ground, northeast of Hillscourge Station, south-southeast of the Exo-Lab 79 cave.


- On a box next to chairs and a big antenna, south of Feralplain Collective, on the southern river bank.
We would like thank RYUKAI for additional information.


- On a flat rock northeast of Wildwood Grove, west of Outreach Post.
We would like thank RYUKAI for additional information.


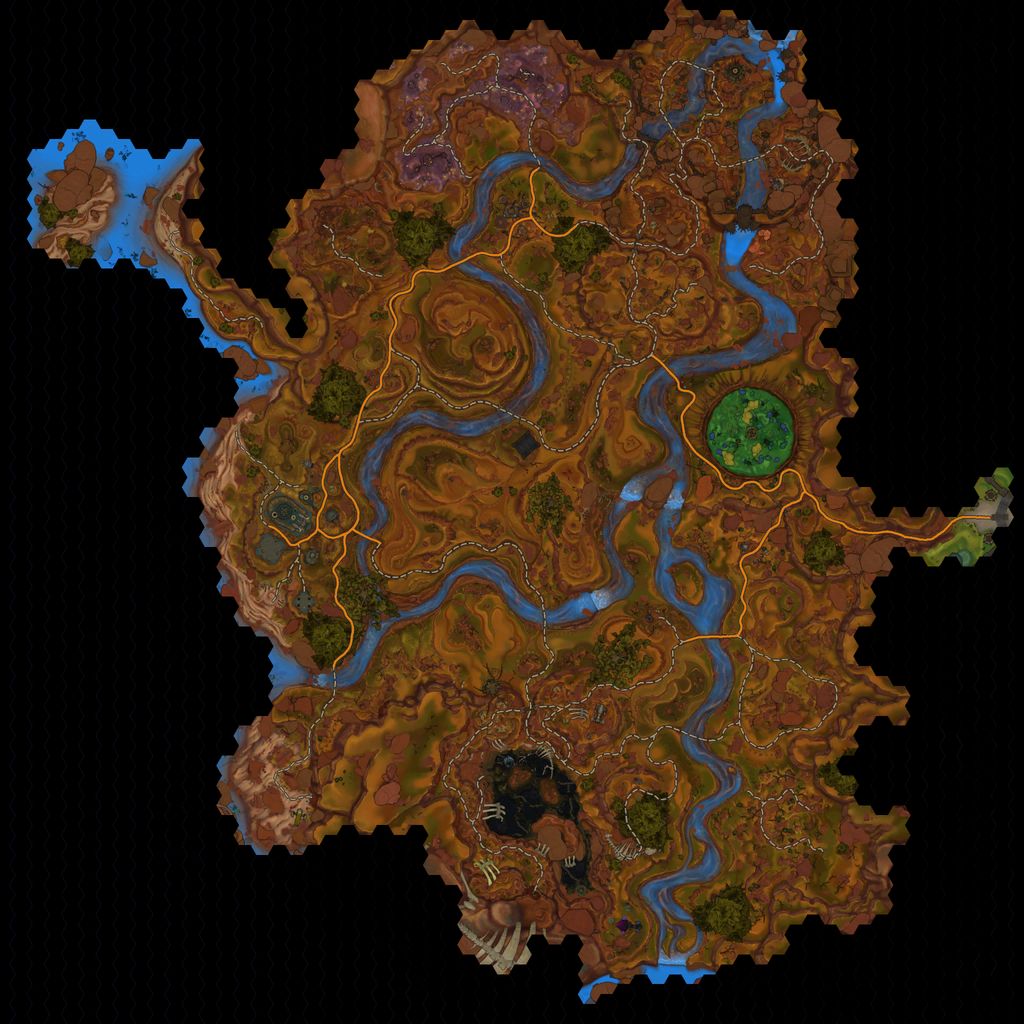
Map
Deradune
Lore
Mondo Zax sat alone on the lumpy bug-infested mat that served as his bed, lamenting the fact that he had ever been born.
To say the attic where he lived was uncomfortable was an understatement of galactic proportions. It was dark. It was damp. The walls were fuzzy with Vraxian supermold, and mutant slanks made their nests in the rafters.
And, of course, there were people on their way upstairs to kill him.
Being an orphan placed Mondo on one of the lowest rungs in Chua society, just below
lobotomized hull-scrubbers and slightly above Palavian gutworms. Add to that the fact that he was a stubby runt with a big mouth and a bad attitude, and it was no surprise that Mondo was having trouble getting a leg up.
The only things in his miserable, pathetic life that brought him any joy whatsoever were the machines that he stole from the sub-basement. The place had been used as storage by a now-bankrupt industrial vacu-bot manufacturer, and Mondo had spent hours studying the rusty machines he’d
unapologetically filched from it. He liked the machines. They made sense to him.
Heavy footsteps echoed on the stairs below. The killers were ascending. He only had a few minutes left to finish his work.
The killers in question were Finkle Blurg and his merry band of half-wits. Blurg was the resident bully, an imbecilic goon with a lazy eye, stunted ears, and three missing teeth. Armed with low levels of intelligence and empathy, Blurg and his henchmen had been terrorizing their fellow orphans for
years, and they had recently set their sights on Mondo.
After a number of painful beatings, Mondo decided to strike back. Playing the sycophantic groveler, Mondo had offered Blurg an adorable Bezgerlorian tarbeetle – a gift that he had gladly accepted. Five minutes later, the insect had promptly exploded, covering Blurg and his cronies in a sticky black ooze that would require major surgery to remove.
The footfalls stopped just outside the small door. Mondo’s hands worked feverishly. So close….
The door shattered, ripped from its hinges by the force of Blurg’s boot. The angry youth stomped into the room, one side of his face and most of his body covered in the tarbeetle’s death excretion. His minions, at least those able to make the trip, had not fared any better.
“You’re so dead, runt,” spat Blurg.
Mondo raised the object in his hands and pointed it at Finkle Blurg. The once-antiquated vacu-bot had undergone a dramatic transformation, and was sporting various tubes, wires, and one very
large red button.
“Bye bye,” Mondo said, and pushed the button.
A bright beam of energy shot out from the machine in his hands. Moments later, Blurg and his friends exploded into billions of tiny glowing particles. Mondo smiled. The black ooze was no longer going to be a problem.
Mondo set the particle destabilizer on the ground, staring out the small window of his attic as the glowing bits of his enemies floated dreamily around him. Surely the Dominion could use someone with his talents….
Quick Facts
![]()
Faction: Dominion
No. of Collectibles required: 8
Type: Tales from Beyond the Fringe


