General Info
- Level 30 adventure available for Exiles and Dominions.
- You will find the entrance in Whitevale, in the middle of Calmwater Lake, near Protostar Camp. You’ll have to dive in order to reach the entrance.
- This is a Tower Defense type of adventure.
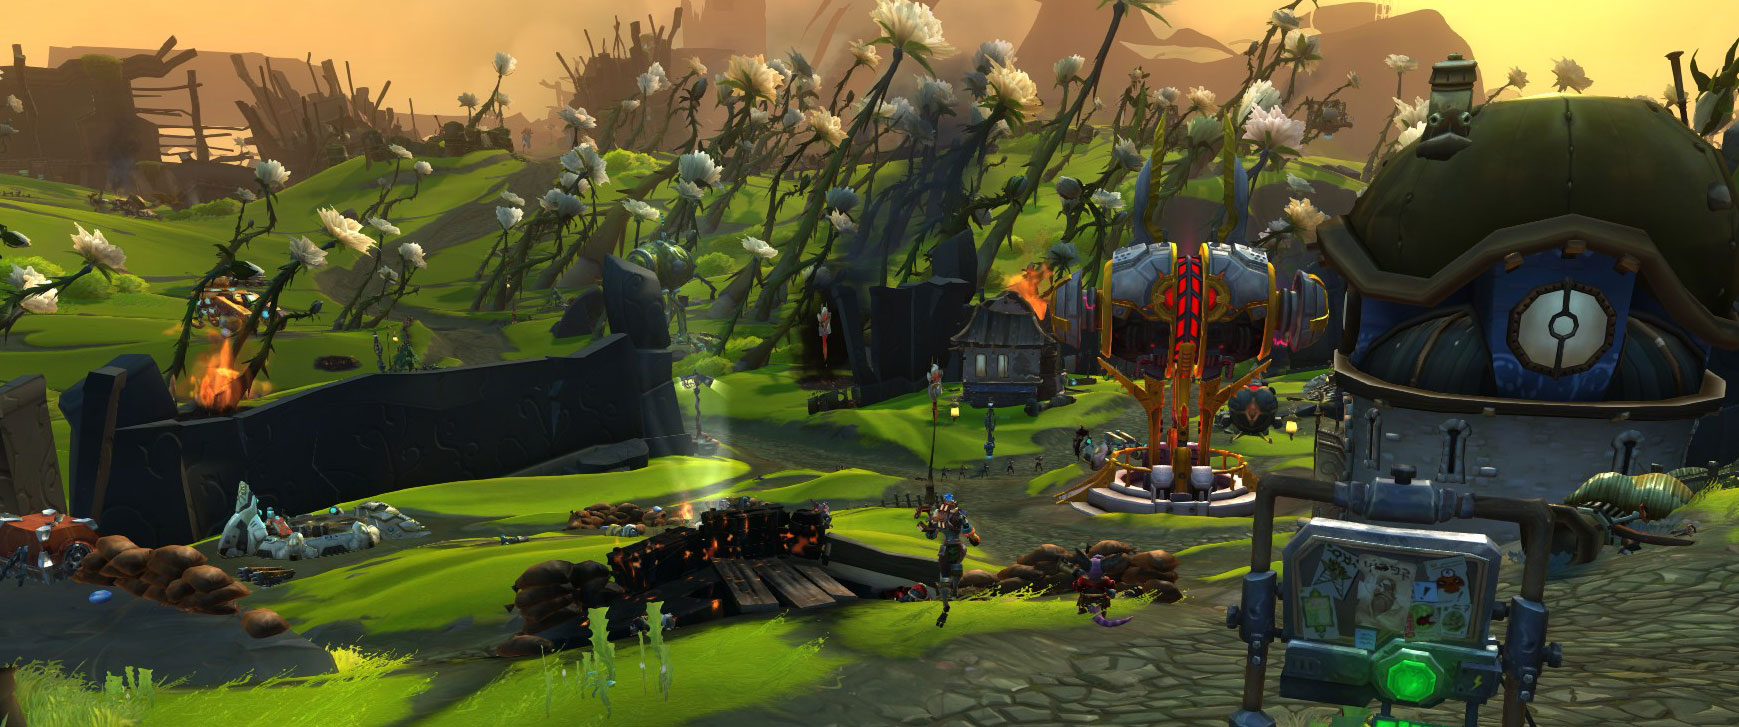
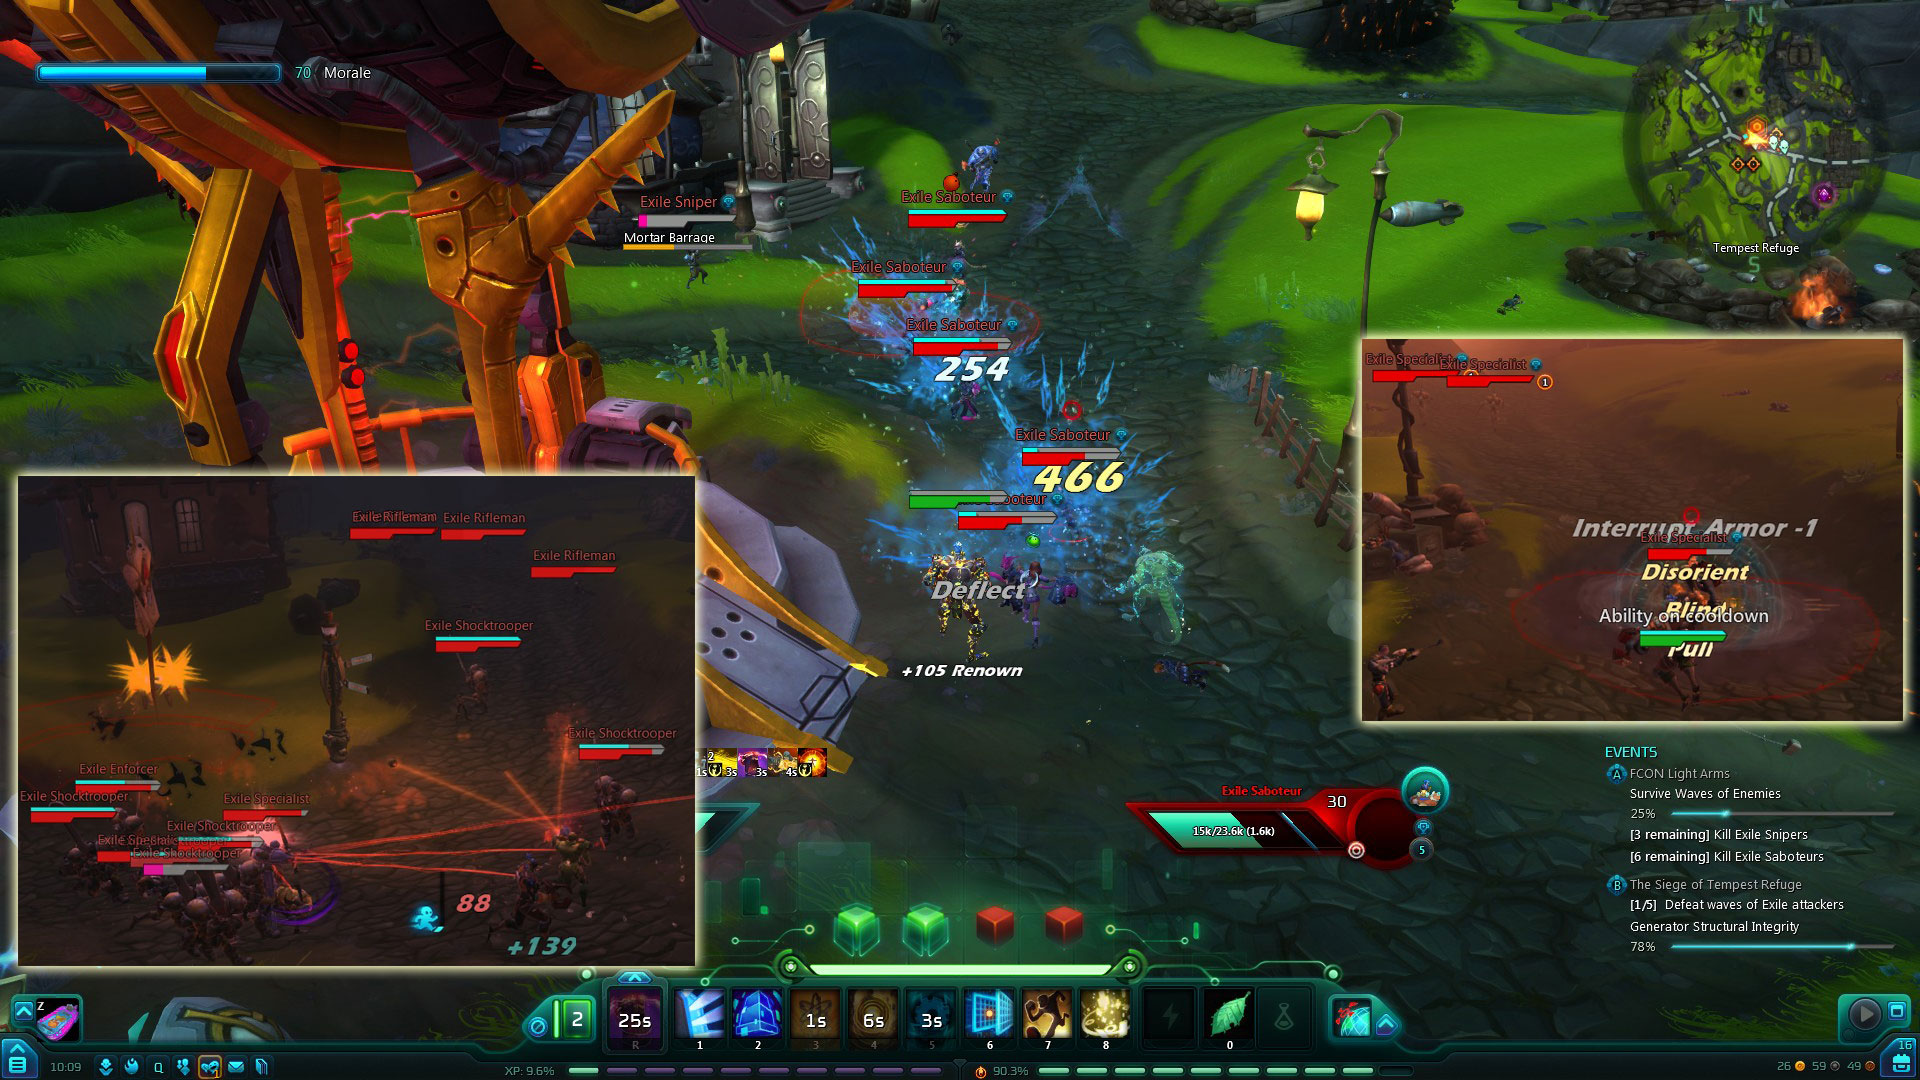
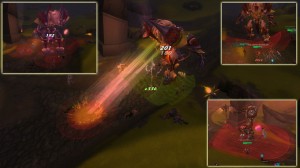
Your task is to defend a generator inside a base, from Dominion or Exiles attackers, depending on what faction you are playing. Enemies can attack your base and generator located in western part of the map, from three different directions. They appear in waves, and you’ll have four waves of trash mobs, before a boss shows up. This pattern repeats five times. Enemies come on foot (groups of melee and range mobs), from the air (dropping bombs, mines), or drive vehicles (tanks loaded with heavy fire, explosives).
There are 10 different bosses in this adventure, but you’ll face 5 random bosses during one adventure run. Unlike previous adventures, which forced you to stay alive if you want a gold medal, this time you can dye as many times as you want, but dying too often causes the following penalties:
- Your respawn timer and ability to rejoin the battle increases with each dying. You can resurrect players while defeating trash mobs, but not during the boss fight.
- Morale bar in the top left corner of your screen drops evenly over time, but it drops faster if any member of your party dyes. Upon reaching 60/30/0 Morale Bar points, players get Debuff called Exhausted. This debuff decreases your outgoing damage and healing by 5%/10%/15% and your dash and sprint regeneration by 20%/30%/40%.
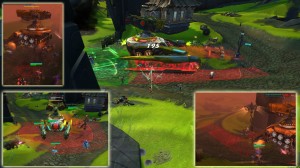
At the end of 5th wave, run back to the generator. Numerous adds will rush toward the generator in the last attempt to destroy it. This time you’ll have a help in a form of an airstrike attack. Everyone, including players, who are far away from the generator will dye.
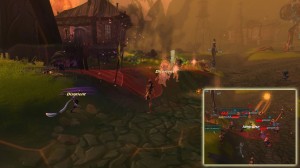
If you fail in protecting the generator in western part of the map, you have to return to Skywatch in eastern Siege of Tempest Refuge. It’s much easier to protect this generator, but it means that you’ll receive only bronze medal.
-
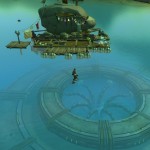
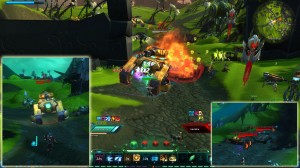
- The Siege of Tempest Refuge Entrance
-
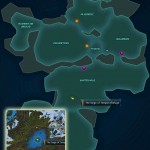
- The Siege of Tempest Refuge Entrance Map Location
-
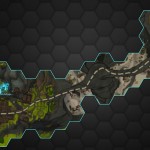
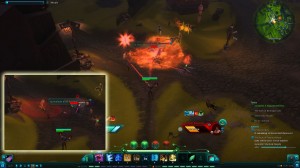
- The Siege of Tempest Refuge Map
Medal Requirements
Gold Medal Requirements: Keep the first generator at Tempest Refuge above 90% capacity.
Silver Medal Requirements: Keep the first generator at Tempest Refuge above 1% capacity.
Bronze Medal Requirements: Complete the adventure.
-

- Tempest Refuge Grunts
-

- The Siege of Tempest Refuge Air Strikes
-

- The End of The Siege of Tempest Refuge
Rewards
Gear rewards are level 30 in normal mode. There is a great chance of getting tradeskill recipes and decor items. Items like gadgets, purple quality armor and weapons are common when you fulfill gold medal requirements.
Positioning
It’s hard to say what positioning is the best, since you’ll be moving from one entrance to another, while helping your friends, but it’s important when a new wave of mobs appears, your group spread out and cover all three entrances. Your healer and tank should be positioned close to middle entrance because that’s the place where each boss spawns.
Grunts
During each round (4 waves of enemies and a boss) you get 5 Grunts (soldiers) that can help you defend your base. Once you interact with them, you can guide them towards one of the flags. They defend the area in the close vicinity of assigned flag. The grunts level up if they survive attack, and you can upgrade them into Melee, Ranged, or Technical Combat soldiers. Melee soldier has the best survival skills, and does huge damage, ranged soldier does great single target damage, and technical combat soldier has abilities to summon bots, dropp bombs etc. They all have upgrade number 2, which offers even more specific options. For example Range upgrade number 2 can choose between Sniper (this soldier gets sniper rifle) or Demolitions (this soldier gets rocket launcher).
Trash mobs – Enemies on foot
The Siege of Tempest Refuge Troops
1. Shocktroopers, Riflemen, Rocket Troopers group of 22k – 48k HP mobs. Try to pull them in a group, then use aoe attacks. Good damage dealer can solo them without a problem.
2. Sabouteurs approximately 24k HP. Defense turrets are temporarily disabled during their existence. They are stealth until revealed, or until they place a bomb in your defense turrets or generator. Disable their bombs as quickly as possible. They are always near generator and defense turrets.
3. Specialists are group of melee attackers, 66k HP, that use cc abilities like blindness.
4. Snipers are long range enemies 25k HP, that easily knockdown players, with no shield.
Trash mobs – Tanks
The Siege of Tempest Refuge Tanks
2. Hellfire Tanks 109K HP, deploy hellfire probes, that set everything on fire. They are usually guarded by Bomb Guardian NPCs.
3. Tank Bunker Busters are big cart loaded with explosives (300k HP). If it reaches generator, it’ll probably destroy it. This Tank and saboteurs are your priority #1.
Bosses
There are 10 bosses available for each faction. Although they have different names, regarding which faction you are playing, they have the same skills.
1. (E) Corporal Vizrek / (D) Sergeant Berog

Corporal Vizrek and Sergeant Berog Abilities
2. (E) Siren Aria / (D) Evoker Peale

Siren Aria and Evoker Peale Abilities
3. (E) Elementalist Vermilius / (D) Elementalist Blazewood
Elementalist Vermilius and Elementalist Blazewood Abilities
4. (E) Saboteur Arminex / (D) Reaper Ludov

Saboteur Arminex and Reaper Ludov Abilities
5. (E) Esper Moko / (D) Esper Alderblade
Esper Mako and Esper Alderblade Abilities
6. (E) Agent Razios / (D) Agent Blackwatch

Agent Razios and Agent Blackwatch Abilities
7. (E) Advanced Warbot / (D) Exile Warbot
Advanced Warbot and Exile Warbot Abilities
8. (E) Legion Assault Tank / (D) FCON Defense Tank
Legion Assault Tank and FCON Defense Tank Abilities
9. (E) Marksman Decimus / (D) Sharpshooter Sparks

Marksman Decimus and Sharpshooter Sparks Abilities
What color do all these players who “dye” choose?